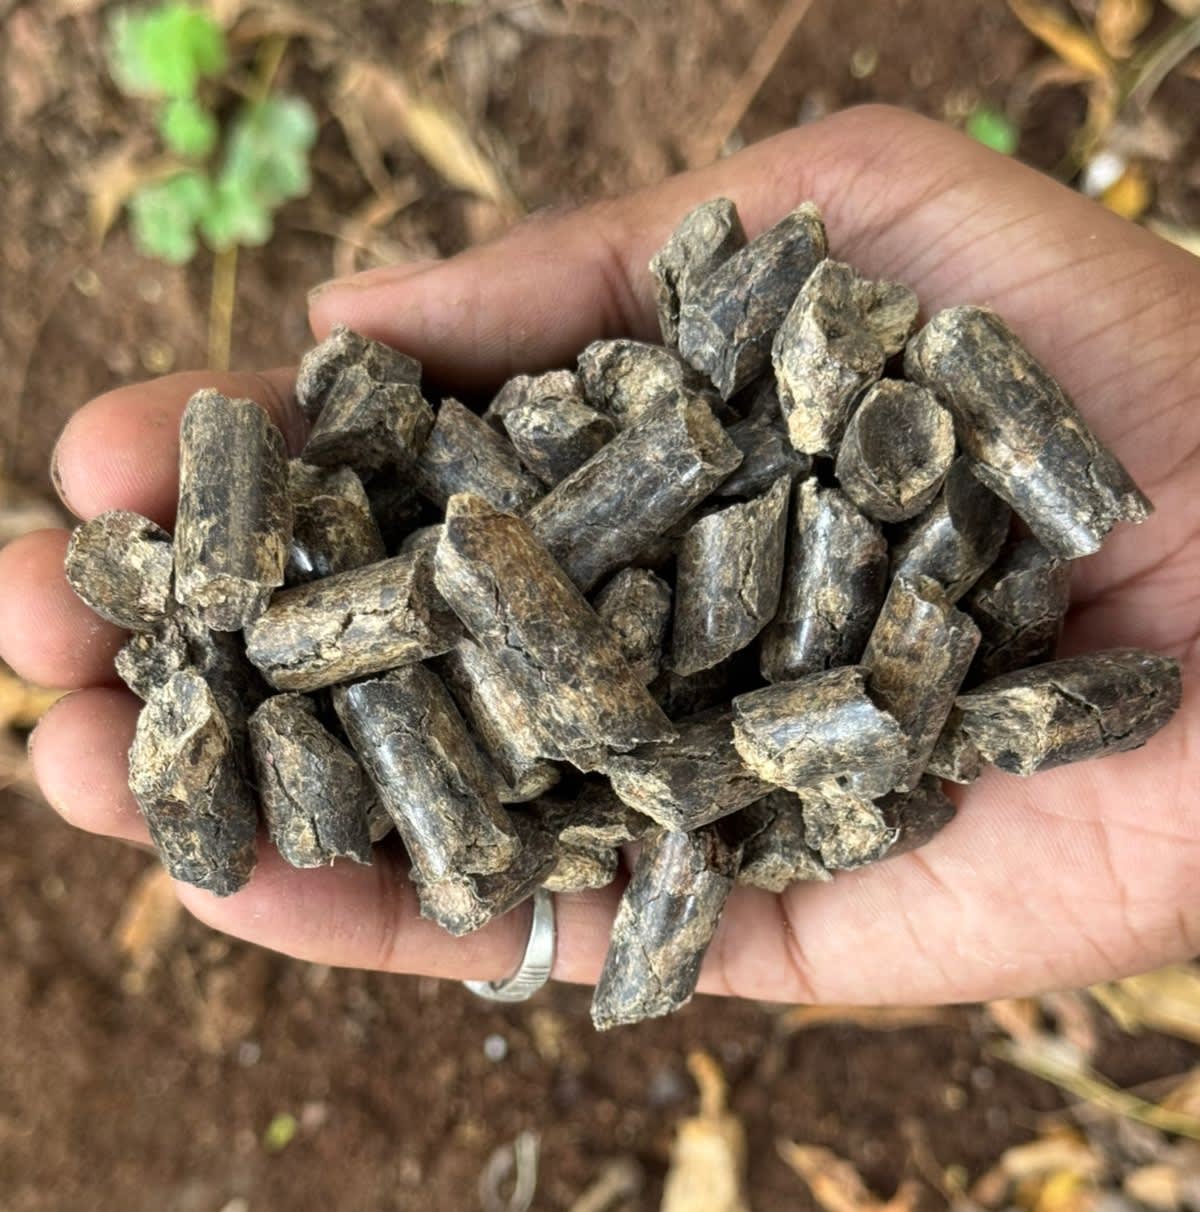
Add hot water to straw pellets at roughly 1 kg pellets to 1.5–2 litres of water. They expand into a moist substrate, kill off most competitors during pasteurisation, and are ready to inoculate with oyster spawn — far cleaner and more consistent than chopping and soaking loose straw.
- Pelletised straw rehydrates into a clean, uniform substrate — far less mess than loose straw.
- Dry, dense pellets start near-sterile, so pasteurisation has much less to fight.
- Ideal for oyster mushrooms; hydrate roughly 1 kg pellets to 1.5–2 litres of water.
What are straw pellets?
Straw pellets are agricultural straw — usually wheat or paddy — ground and compressed into dense pellets, with no additives. Because they're dry and densified, they store compactly and carry almost no living contaminants.
When hydrated, each pellet swells and breaks apart into a light, fibrous mass. The result is a uniform substrate every batch, without the variability of field-collected straw.
Why growers prefer them
Easy hydration
Pour on measured hot water and the pellets do the rest — no overnight soaking or draining tanks.
Lower contamination
Dry, dense pellets start nearly sterile, so pasteurisation has far less to fight than damp field straw.
Consistent batches
Uniform raw material means repeatable moisture, density, and yield run after run.
Compact storage
A bag of pellets replaces bulky bales — easier to store, move, and dose precisely.
From pellet to fruiting block
A simple oyster-mushroom workflow using straw pellets.
- 1
Hydrate
Add hot water (around 1 : 1.5–2 by weight). Let pellets fully expand and cool to room temperature.
- 2
Pasteurise
Hold the wet substrate at 65–75°C for 1–2 hours (hot-water or steam), or use a cold lime-water soak.
- 3
Drain & check moisture
Aim for field capacity — squeeze a handful and only a few drops should release (~65–70%).
- 4
Inoculate
Mix in oyster spawn at roughly 2–5% of substrate weight, working in a clean area.
- 5
Incubate
Pack into bags, keep at 22–26°C in the dark until the substrate is fully colonised white.
- 6
Fruit
Introduce light, fresh air, and humidity. Pins appear within days and mushrooms follow.
Straw pellets vs loose straw, honestly
Loose straw is cheap at the farm gate but expensive by the time it is substrate: it needs chopping, soaking, draining, and far more pasteurisation effort, and every step is a contamination window. Pellets arrive pre-ground, dense, and near-sterile — you trade a slightly higher material cost for hours of labour saved and a far cleaner start.
Consistency is the quieter win. Field straw varies bale to bale in moisture and quality, which shows up as unpredictable yields. Pellets from one supplier behave the same every batch, so your process — water ratio, pasteurisation, spawn rate — becomes repeatable.
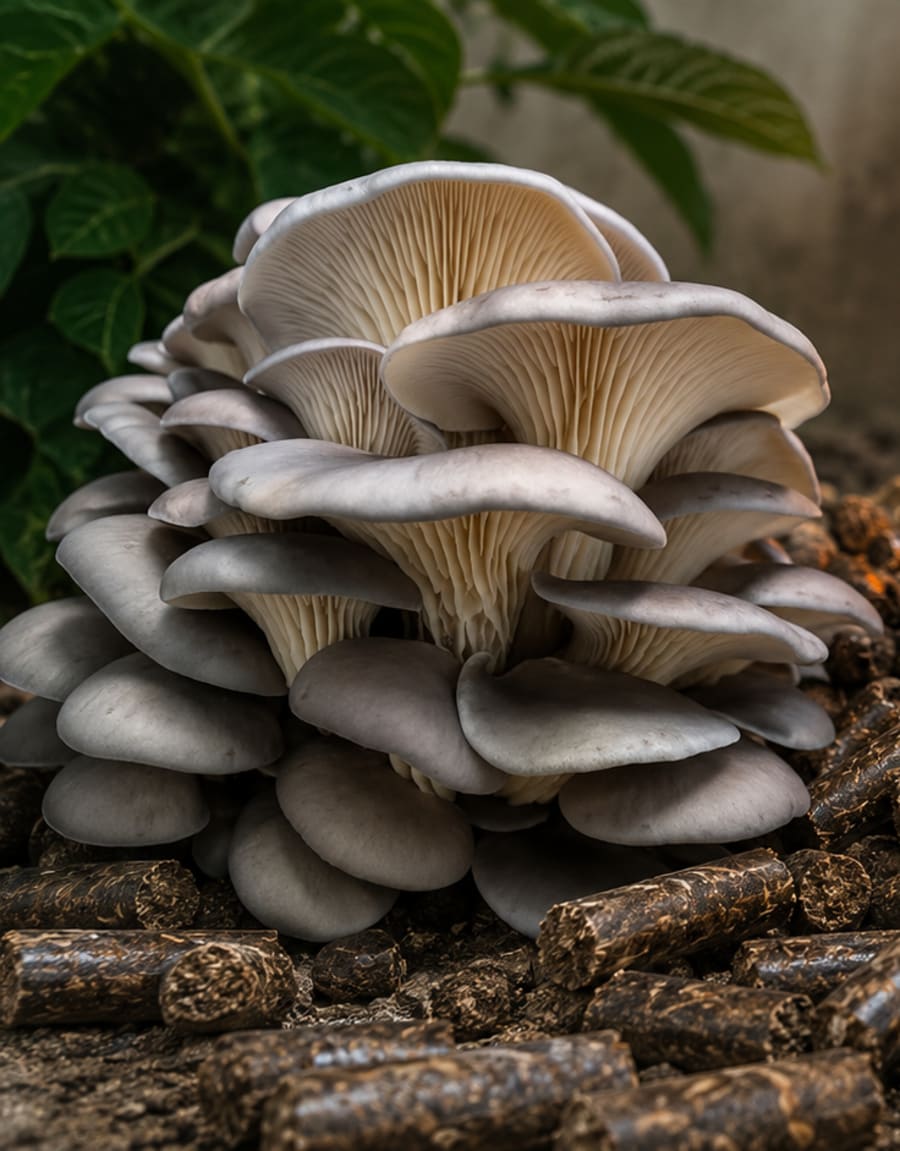
Oyster mushrooms (Pleurotus species) thrive on pasteurised straw-pellet substrate. For wood-loving species like shiitake, use hardwood pellets instead.
The bottom line
For oyster growers, straw pellets remove the two biggest headaches of loose straw — mess and contamination — while giving you a repeatable substrate every batch. That consistency is what turns an unpredictable hobby into a reliable grow.
Ready to try them? Shop straw and substrate pellets or ask us which grade suits your species.
Growing for the first time? Follow our step-by-step oyster mushroom guide, or compare hardwood pellets and all-in-one substrate pellets.