
Mushroom substrate pellets are a ready-made blend (often hardwood sawdust with bran or straw) compressed into pellets. Hydrate to field capacity, sterilise or pasteurise depending on the formula, then inoculate. They trade a little cost for big gains in consistency and convenience.
- Pre-formulated substrate pellets are an all-in-one growing medium — just add water.
- A fixed recipe removes the top cause of beginner failure: an inconsistent substrate.
- Sterilise supplemented blends; simpler straw-based blends can be pasteurised.
What's inside
Substrate pellets pack a complete, pre-balanced recipe into one product. A typical blend combines hardwood sawdust for structure with a nutrient supplement such as bran, plus the right carbon-to-nitrogen balance for healthy colonisation.
Because the formula is fixed at the factory, every bag behaves the same. That removes the biggest source of beginner failure: an inconsistent, badly-mixed home substrate.
Why use them
Foolproof consistency
A fixed recipe means repeatable moisture, nutrition, and results — ideal while you're learning.
Saves prep time
No sourcing, weighing, or mixing multiple ingredients. Hydrate and go.
Compact & storable
Dry pellets keep for months and take little space until you're ready to grow.
Clean start
Densified and dry, they carry few contaminants before processing.
Step-by-step preparation
- 1
Hydrate
Add measured water and let pellets expand. Aim for field capacity — a squeezed handful drips only slightly.
- 2
Bag
Load filter-patch grow bags, leaving room for air exchange.
- 3
Sterilise or pasteurise
Supplemented blends need sterilising (15 psi, ~2 hrs); simpler straw-based blends can be pasteurised. Follow the product's guidance.
- 4
Cool
Let bags return to room temperature in a clean space before opening.
- 5
Inoculate
Add spawn in still air or under a flow hood, then seal.
- 6
Colonise & fruit
Incubate warm and dark until white throughout, then move to fruiting conditions.
Scaling from a few bags to a grow room
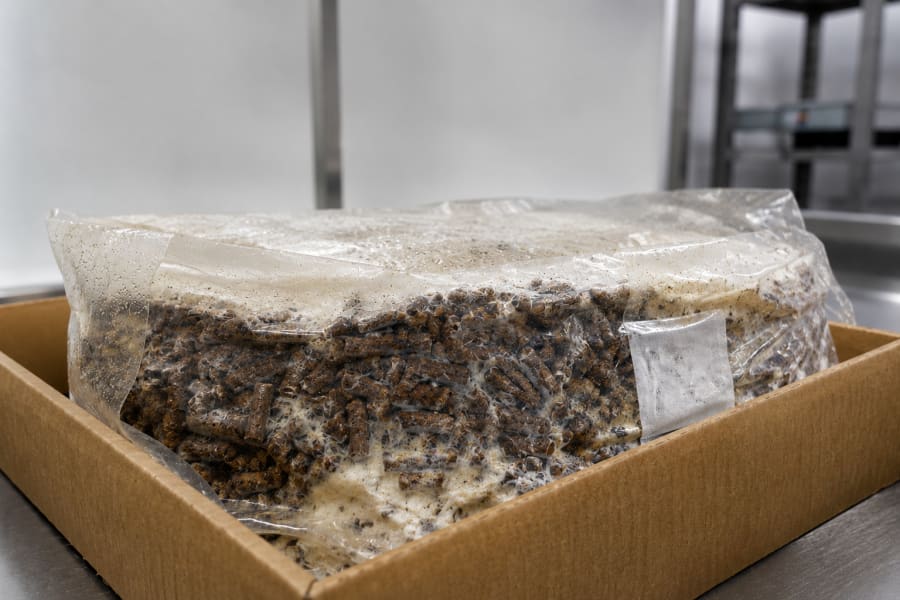
The jump from hobby bags to commercial trays fails for one reason more than any other: substrate variability. Pellets solve that — each batch hydrates to the same moisture and nutrition, so you can plan spawn, shelf space, and harvest dates on a calendar instead of guesswork.
Scale in rhythm, not in bulk: start a fixed number of blocks every week so fruiting is staggered and your labour, humidity load, and sales stay level. A small room run on weekly cycles will outsell a big room run in bursts.
Substrate pellets vs DIY mix
Where the all-in-one approach helps — and where mixing your own still makes sense.
| Factor | Substrate pellets | DIY mix |
|---|---|---|
| ConsistencyRecommended | High — fixed recipe | Varies with sourcing |
| Prep effort | Low — just hydrate | Higher — weigh & mix |
| Cost per kg | Slightly higher | Lower at scale |
| Best for | Beginners, small batches | Experienced, large runs |
Browse our straw, rubberwood, and mango sawdust substrate pellets — or send us your monthly requirement for pallet and bulk pricing.
The bottom line
Pre-formulated substrate pellets are the shortest path from beginner to first harvest, because they remove the single biggest cause of failed grows — an inconsistent mix. You trade a little cost for a lot of reliability.
Pick a blend that matches your species and process, shop substrate pellets, or ask us for a recommendation.
Related guides: growing oyster mushrooms, straw pellets for mushroom farming, and hardwood pellets for cultivation.